nginx搭建图片服务器

目录
nginx搭建图片服务器
前言
前几天公司外包软件里所用的第三方图片存储服务器,被外包恶意拉黑,导致小程序所需要访问的网络图片全部裂开无法访问,但是项目已经上线,为了更快的恢复程序使用,我用紧会的nginx在服务器上搭建了一个服务器.
正文
简介
在linux centos7系统中,搭建图片上传服务器。
LINUX安装nginx详细步骤:
1.安装依赖包
//一键安装上面四个依赖
yum -y install gcc zlib zlib-devel pcre-devel openssl openssl-devel
//创建一个文件夹
cd /usr/local
mkdir nginx
cd nginx
//下载tar包
wget http://nginx.org/download/nginx-1.13.7.tar.gz
tar -xvf nginx-1.13.7.tar.g
//进入nginx目录
cd /usr/local/nginx
//执行命令
./configure
//执行make命令
make
//执行make install命令
make install
# 打开配置文件
vi /usr/local/nginx/conf/nginx.conf
太多直接上配置,有些需要根据自己的路径来配置,以下是参考,并非你安装的路径,请核对自己的安装路径;
http {
log_format main '$remote_addr - $remote_user [$time_local] "$request" '
'$status $body_bytes_sent "$http_referer" '
'"$http_user_agent" "$http_x_forwarded_for"';
access_log /var/log/nginx/access.log main;
sendfile on;
tcp_nopush on;
tcp_nodelay on;
keepalive_timeout 65;
types_hash_max_size 2048;
include /etc/nginx/mime.types;
default_type application/octet-stream;
# Load modular configuration files from the /etc/nginx/conf.d directory.
# See http://nginx.org/en/docs/ngx_core_module.html#include
# for more information.
include /etc/nginx/conf.d/*.conf;
server {
listen 8080 default_server;
listen [::]:8080 default_server;
server_name _;
root /usr/share/nginx/html;
# Load configuration files for the default server block.
include /etc/nginx/default.d/*.conf;
location / {
}
error_page 404 /404.html;
location = /40x.html {
}
error_page 500 502 503 504 /50x.html;
location = /50x.html {
}
}
**server {
listen 443 default ssl;
server_name www.****.com; #这个是我服务器的域名,可以访问的配置,如果只是需要图片,这是不需要的
ssl_session_timeout 5m;
ssl_protocols SSLv3 TLSv1 TLSv1.1 TLSv1.2;
ssl_prefer_server_ciphers on;
ssl_ciphers ALL:!ADH:!EXPORT56:RC4+RSA:+HIGH:+MEDIUM:+LOW:+SSLv2:+EXP;
ssl_certificate /etc/httpd/ssl_1/tu_com.crt; #这个和下面一行是我的ssl正式
ssl_certificate_key /etc/httpd/ssl_1/domain.key; # 同上一行
location / {
proxy_pass http://www.*****.com:8081; #因为是服务器,这个是项目的启动配置,你可以127.0.0.1之类的
}
# 下面这块才是图片正儿八经的东西
location ~ .*(gif|jpg|jpeg|png)$ {
expires 24h;
root /data/www/images/;#指定图片存放路径(确定服务器有这个目录)
# access_log /data/www/images/nginx/logs/images.log;#图片 日志路径
proxy_store on;
proxy_store_access user:rw group:rw all:rw;
proxy_temp_path /data/www/images/;#代理临时路径
proxy_redirect off;
proxy_set_header Host 127.0.0.1;
proxy_set_header X-Real-IP $remote_addr;
proxy_set_header X-Forwarded-For $proxy_add_x_forwarded_for;
client_max_body_size 10m;
client_body_buffer_size 1280k;
proxy_connect_timeout 900;
proxy_send_timeout 900;
proxy_read_timeout 900;
proxy_buffer_size 40k;
proxy_buffers 40 320k;
proxy_busy_buffers_size 640k;
proxy_temp_file_write_size 640k;
}**
}备注: /data/www/images/路径必须创建好。
在重启 nginx 服务之前,最好先测试一下 nginx 的配置文件。
测试配置文件
nginx -t
备注:nginx 是被我配置了全局软连接,所以可以不加绝对路径。
重启 nginx 服务
nginx -s reload
后台图片上传代码,因为第三方工具类也不能用了,毕竟服务器都给断了
 public static Map<String, String> upload(MultipartFile file) throws IOException {
Map<String, String> map = new HashMap<>();
//获取上传文件名,包含后缀
String originalFilename = file.getOriginalFilename();
//获取后缀
String substring = originalFilename.substring(originalFilename.lastIndexOf("."));
//保存的文件名
String uuid = UUID.randomUUID().toString().replace("-", "");
String dFileName = uuid + substring;
//保存路径
//springboot 默认情况下只能加载 resource 文件夹下静态资源文件
String path = "/data/www/images";//linux 下的路径 是/ 这个要和 nginx 配置图片路径要一直
// String path = "E:\\data\\www\\images";//windows
//生成保存文件
File uploadFile = new File(path, dFileName);
System.out.println("uploadFile==" + uploadFile);
//判断上级是否是目录,并判断是否存在
 if (!uploadFile.getParentFile().isDirectory()) {
uploadFile.mkdirs();
}
//将上传文件保存到路径
try {
file.transferTo(uploadFile);
String url = "https://www.***.com/" + dFileName; //这个还是我的服务器域名,我这边直接拼接好给小程序用了
map.put("name", dFileName);
map.put("url", url);
return map;
} catch (IOException e) {
e.printStackTrace();
// throw new IOException("上传图片失败=="+e);
}
return map;
}
/*_线下自己上传_/
@PostMapping("/uploadImages")
public ResponseEntity upImages(MultipartFile file) throws IOException {
Map<String,String> url = FileUtil.upload(file);
System.out.println(url.get("url"));
return ResponseEntity.ok(url.get("url")); //只返回一个路径, 你可以可以拿到整个 map
}接下来上传图片

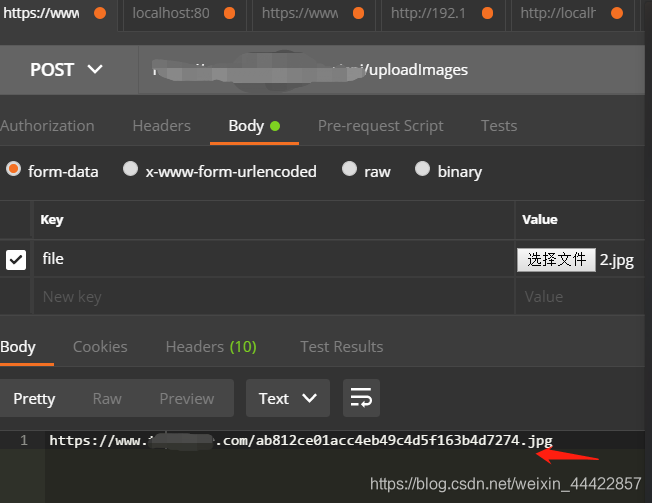
这个就是调用后台代码接口,返回上传到服务器的地址,可以看到路径是域名+生成的文件名字,没错的,因为我们在上面配置文件里配置的路径
 location ~ .*(gif|jpg|jpeg|png)$ { #这块就是省略了 /data/www/images/ 这个路径
expires 24h;
root /data/www/images/;#指定图片存放路径(确定服务器有这个目录)
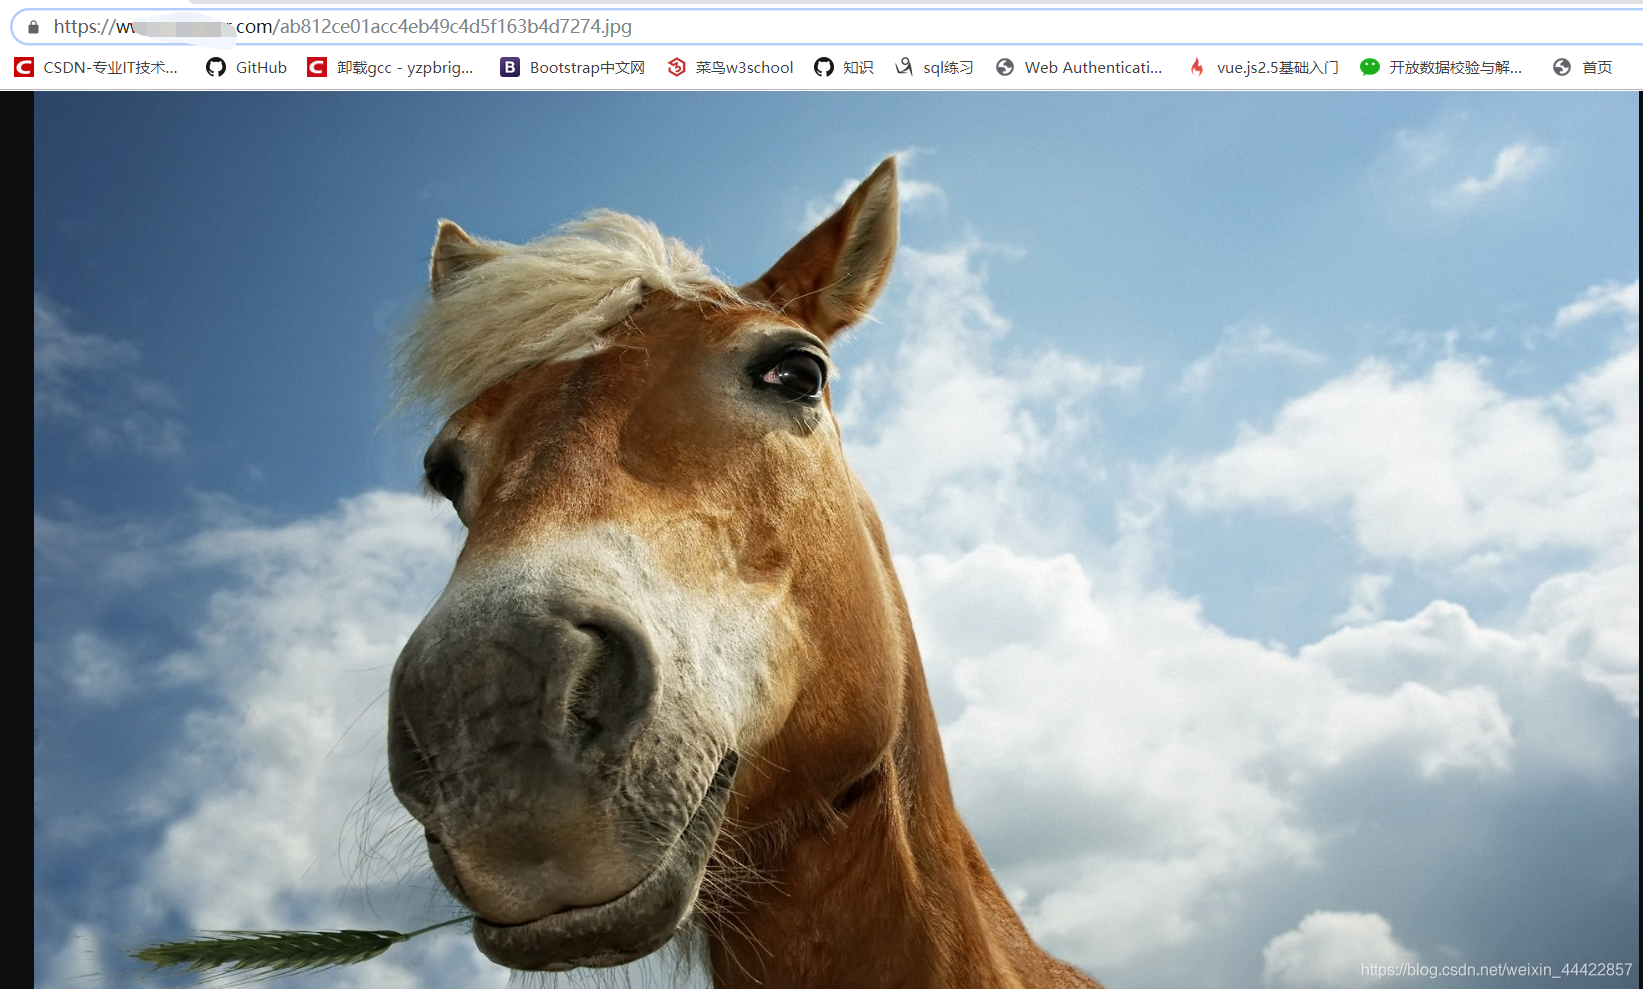
我们打开试浏览器一下:

OK! 搞定!