Java笔记10Struts2简单Demo

目录
Java笔记10:Struts2简单Demo
1
下载 struts-2.3.24.1-all.zip 并解压缩,位置任意,比如我的位置是 D:\Download\Java\struts-2.3.24.1
解压缩
D:\Download\Java\struts-2.3.24.1\apps
下的
struts2-blank.war
2
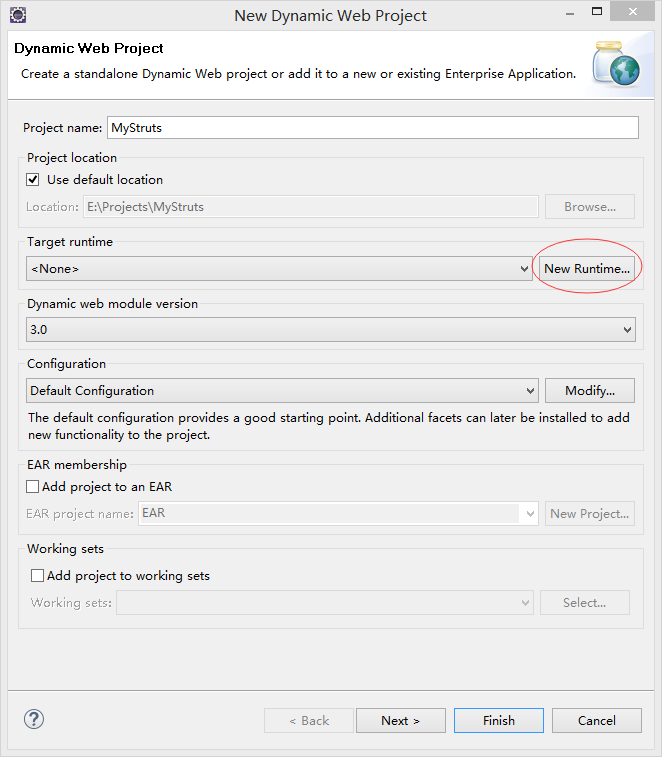
启动 Eclipse ,建立一个名为 MyStruts 的动态 Web 工程,点击 “New Runtime…”
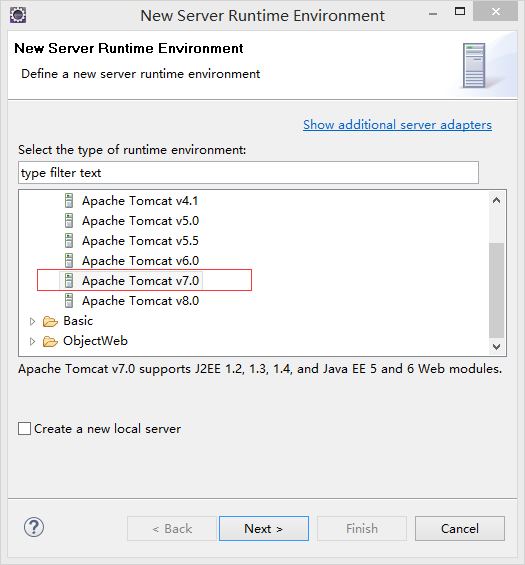
选择 Tomcat V7.0 ,下一步
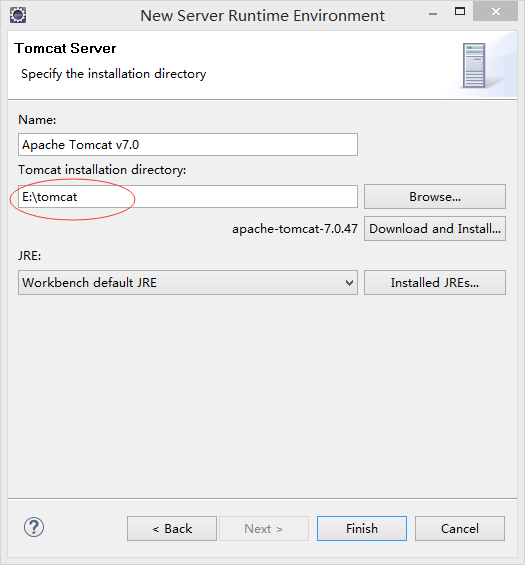
选择 Tomcat 安装路径,比如我的安装路径是 E:\tomcat ,完成
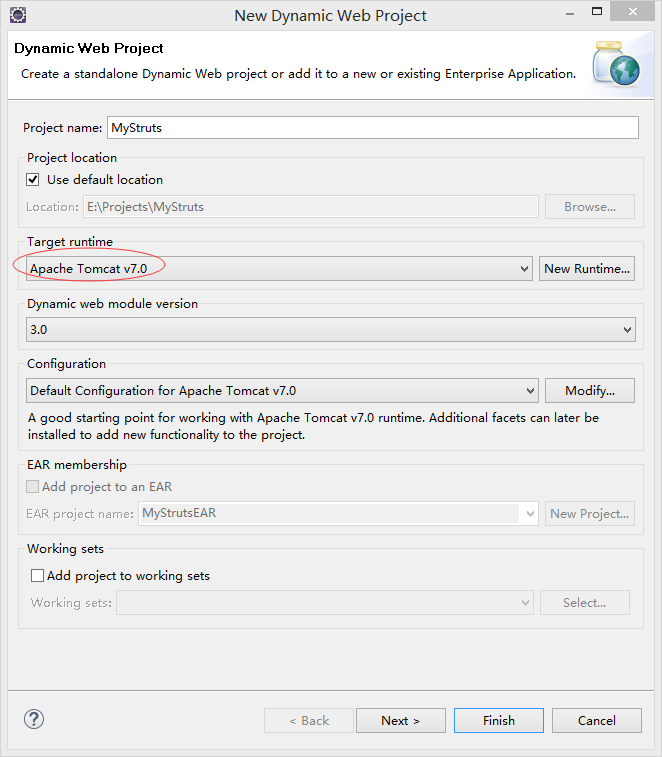
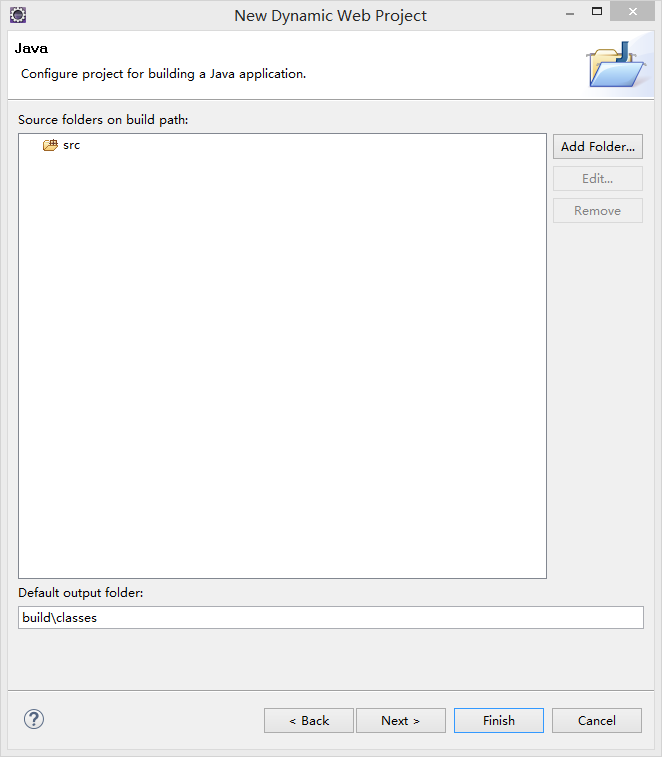
下一步
下一步
进入 Web Module 界面,勾选 “Generate web.xml deployment descriptor” ,并选 Finish 按纽完成工程的建立
3
把
D:\Download\Java\struts-2.3.24.1\apps\struts2-blank\WEB-INF\lib
中的所有
jar
包拷贝到
E:\Projects\MyStruts\WebContent\WEB-INF\lib
中,这里
E:\Projects
是
Java
工程的存放路径
4
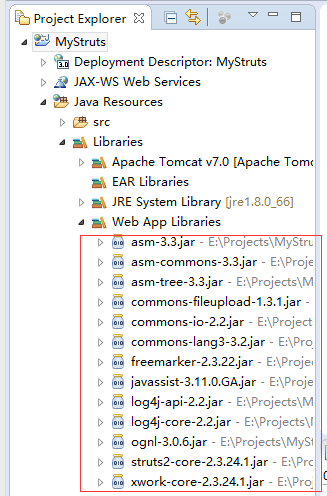
点击 Elipse 面板中左侧的 MyStruts 工程名,按 F5 刷新,可以看到 jar 包都已经添加进来
5
在工程的 src 目录下添加 struts.xml ,内容如下
<?xml version="1.0" encoding="UTF-8" ?>

<!DOCTYPE struts PUBLIC

    "-//Apache Software Foundation//DTD Struts Configuration 2.3//EN"

"http://struts.apache.org/dtds/struts-2.3.dtd">

<struts>

 <constant name="struts.devMode" value="true" />

 <package name="default" namespace="/" extends="struts-default">

  <action name="hello">

   <result>

    /hello.jsp

   </result>

  </action>

 </package>

</struts>
6
编辑
webContent\WEB-INF
下的
web.xml
文件,内容为
<?xml version="1.0"encoding="UTF-8"?>

<web-app id="WebApp_9"version="2.4" xmlns="http://java.sun.com/xml/ns/j2ee"

        xmlns:xsi="http://www.w3.org/2001/XMLSchema-instance"

        xsi:schemaLocation="http://java.sun.com/xml/ns/j2eehttp://java.sun.com/xml/ns/j2ee/web-app_2_4.xsd">

   <!--定义Struts2的核心Filter -->

   <filter>

       <filter-name>struts2</filter-name>

       <filter-class>org.apache.struts2.dispatcher.ng.filter.StrutsPrepareAndExecuteFilter</filter-class>

   </filter>

   <!--让Struts2的核心Filter拦截所有请求 -->

   <filter-mapping>

       <filter-name>struts2</filter-name>

       <url-pattern>/*</url-pattern>

   </filter-mapping>

</web-app>
7
在 WebContent 目录下建立使用模板的 hello.jsp ,在
和 之间添加“ Hello World!” :<%@ page language="java"contentType="text/html; charset=ISO-8859-1"
pageEncoding="ISO-8859-1"%>
<!DOCTYPE htmlPUBLIC "-//W3C//DTD HTML 4.01 Transitional//EN""http://www.w3.org/TR/html4/loose.dtd">
<html>
<head>
<meta http-equiv="Content-Type"content="text/html; charset=ISO-8859-1">
<title>Inserttitle here</title>
</head>
<body>
Hello World!
</body>
</html>8
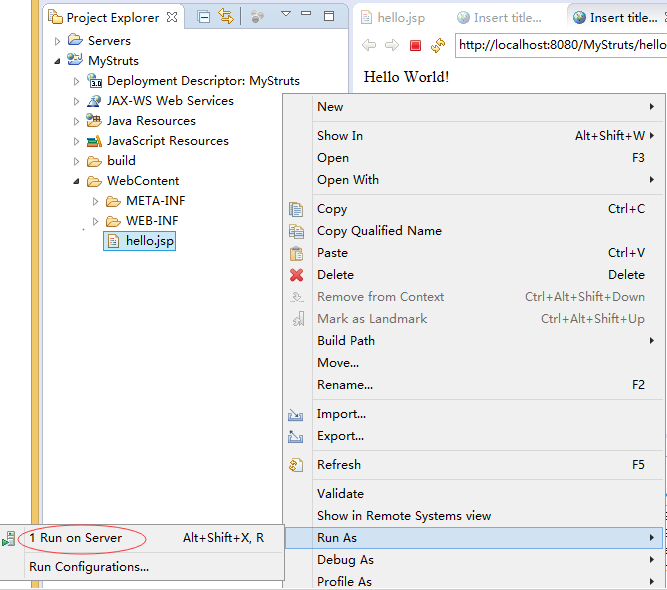
右键点击 hello.jsp
–>
run as
–>
run on server
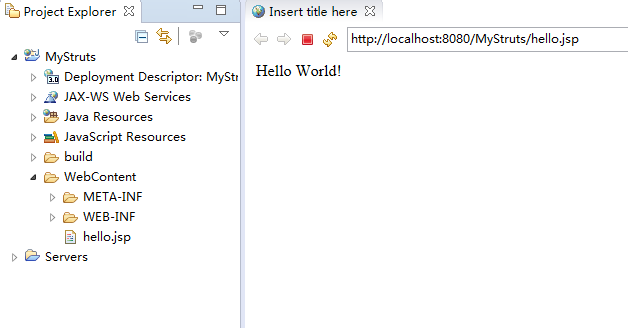
运行结果为:
