微信小程序-入门

目录
微信小程序-入门
一.通过 Npm方式下载构建
1.下载和安装Npm:
或者
未安装npm 提示

以下以安装node安装包为例


按任意键继续
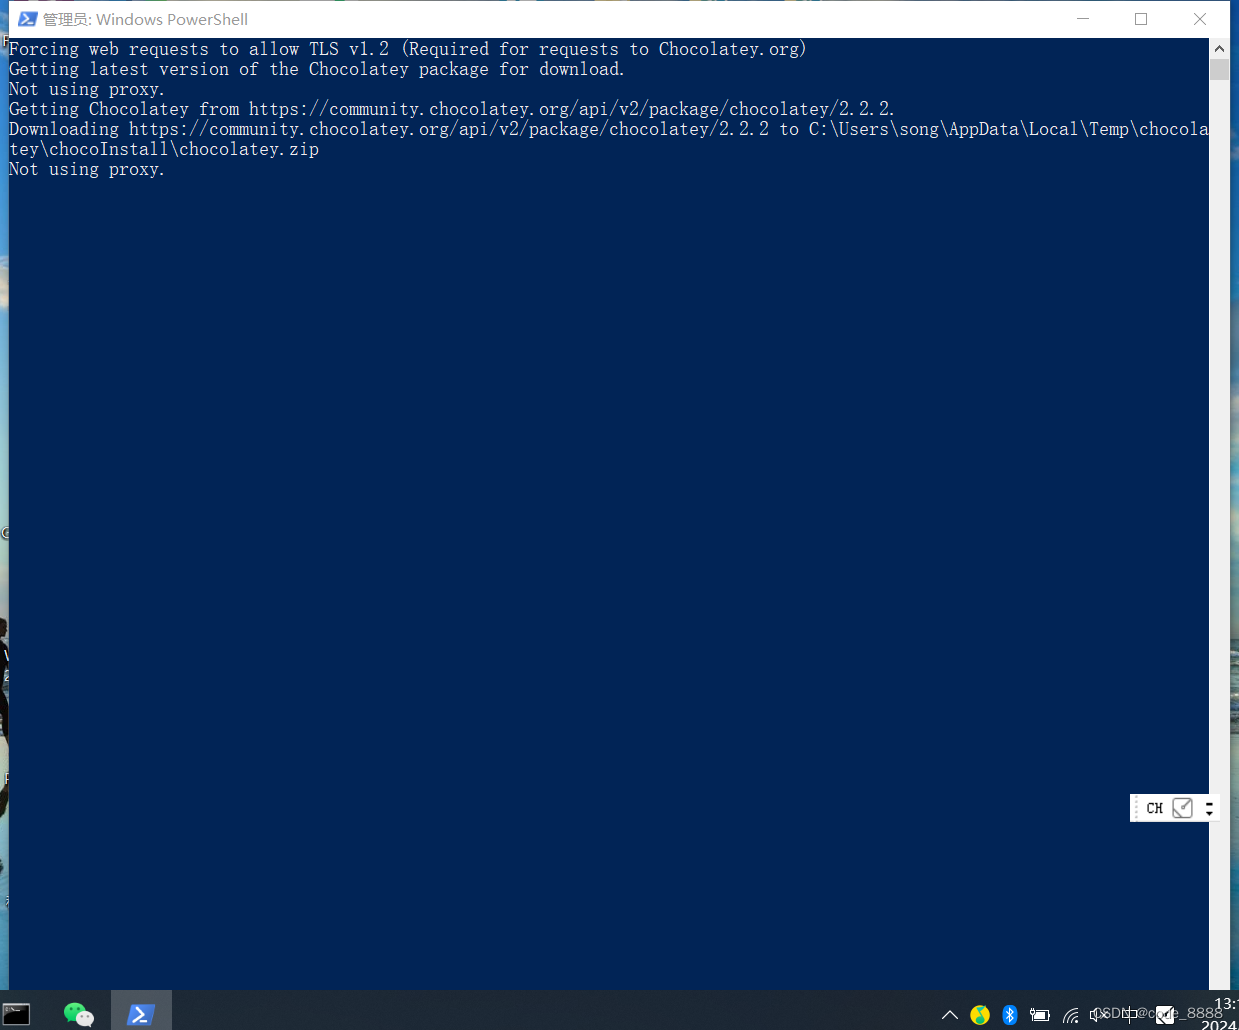

安装完成后

2. 下载和安装小程序开发工具 :
3.安装使用weui
3.1 在小程序根目录下初始化npm
按以下方式避免npm初始化报错
message: NPM packages not found. Please confirm npm packages which need to build are belong to `miniprogramRoot` directory. Or you may edit project.config.json's `packNpmManually` and `packNpmRelationList`
appid: wxfdcdeefd46e93725
openid: o6zAJs4UHtxoUdwBMYwoYl2bQM9Y
ideVersion: 1.06.2401020
osType: win32-x64
time: 2024-03-07 14:31:03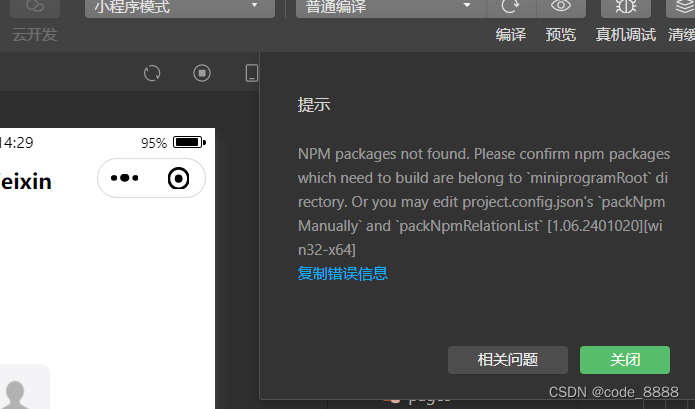
根目录下初始化
npm init -y
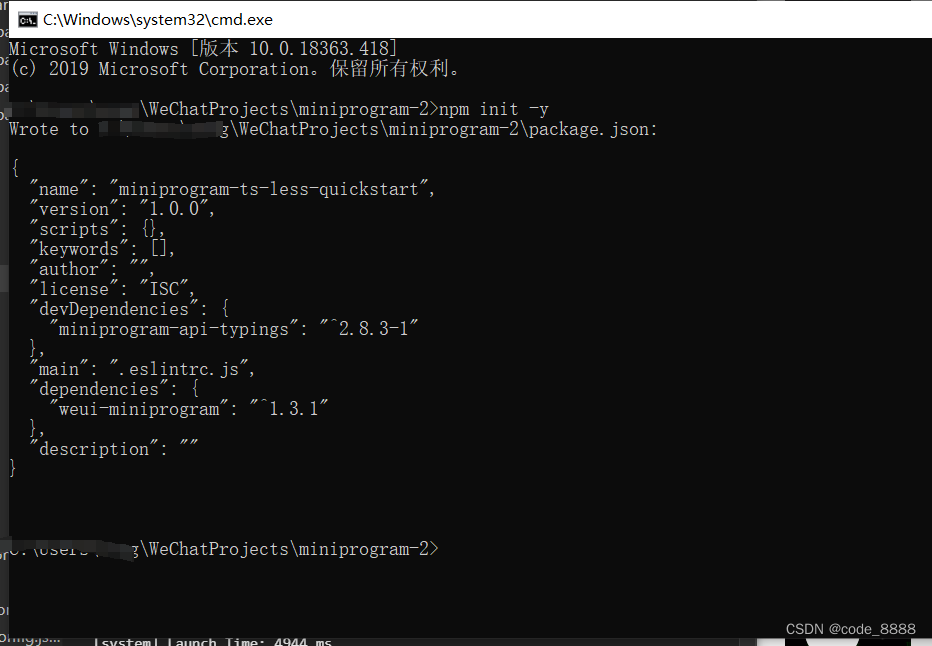
安装npm
npm install 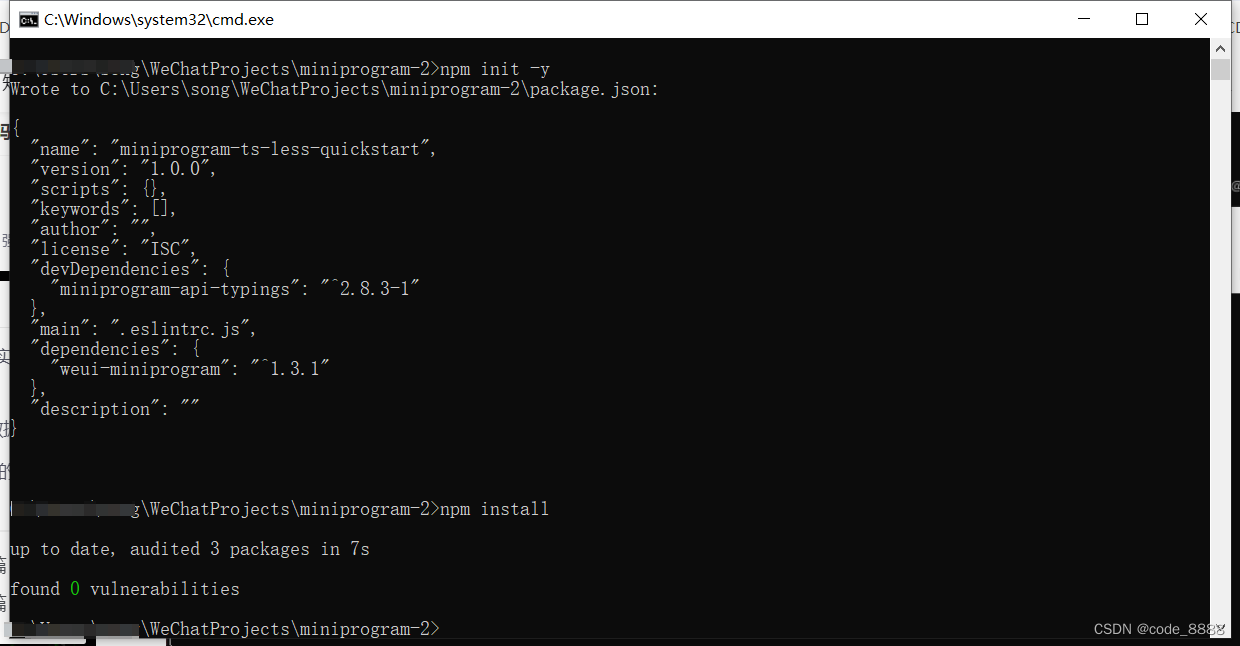
配置
project.config.json
文件
    "packNpmManually": true,
    "packNpmRelationList": [
      {
        "packageJsonPath": "./package.json",
        "miniprogramNpmDistDir": "./miniprogram/"
      }
    ],

安装小程序weui npm包
npm install --save weui-miniprogram
重新打开此项目

打开工具菜单=>构建npm

二.通过 useExtendedLib扩展库方式下载构建
1.通过微信开发者工具创建项目

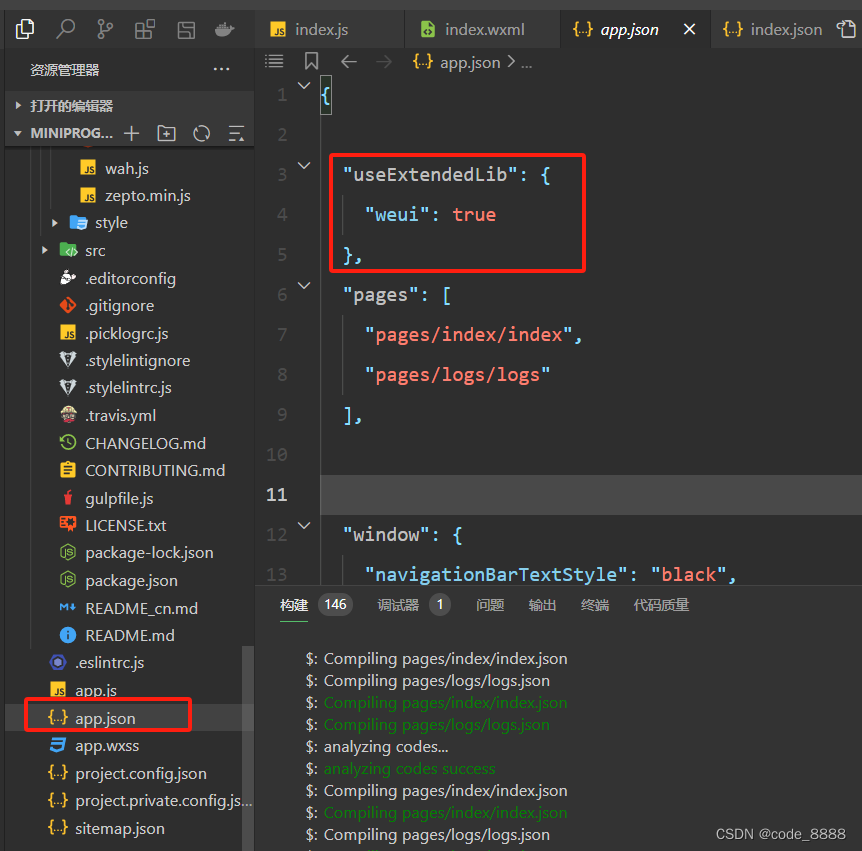
2.配置项目根目录下app.json,添加如下内容:
 "useExtendedLib": {
    "weui": true
  },
3.以官网-progress 进度条实例为例:
编辑index目录下 index.js
const app = getApp()

Page({
data: {

},
onLoad: function () {
console.log('代码片段是一种迷你、可分享的小程序或小游戏项目,可用于分享小程序和小游戏的开发经验、展示组件和 API 的使用、复现开发问题和 Bug 等。可点击以下链接查看代码片段的详细文档:')
console.log('https://mp.weixin.qq.com/debug/wxadoc/dev/devtools/devtools.html')
},
})
编辑 index 目录下 index.wxml
<progress percent="20" show-info />
<progress percent="40" stroke-width="12" />
<progress percent="60" color="pink" />
<progress percent="80" active />
<progress percent="100" active />
编辑 index 目录下 index.wxml
progress {margin: 10px;}
编译运行即可

4.以官网-checkbox 实例为例:
编辑 index 目录下 index.js
Page({
data: {
items: [
{ name: 'USA', value: '美国' },
{ name: 'CHN', value: '中国', checked: 'true' },
{ name: 'BRA', value: '巴西' },
{ name: 'JPN', value: '日本' },
{ name: 'ENG', value: '英国' },
{ name: 'TUR', value: '法国' },
]
},
checkboxChange: function (e) {
console.log('checkbox 发生 change 事件,携带 value 值为:', e.detail.value)
}
})
编辑 index 目录下 index.json
{ "componentFramework": "glass-easel" }编辑 index 目录下 index.wxml
<checkbox-group bindchange="checkboxChange">
<label class="checkbox" wx:for="{{items}}">
<checkbox value="{{item.name}}" checked="{{item.checked}}"/>{{item.value}}
</label>
</checkbox-group>
编辑 index 目录下 index.wxss
.intro {
margin: 30px;
text-align: center;
}
page {
margin-top: 80px;
}
.checkbox, checkbox {
display: flex;
flex-direction: row;
height: 30px;
line-height: 30px;
}
.checkbox {
justify-content: center;
}
编译预览

5.以官网-input 实例为例:
编辑 index 目录下 index.js
Page({
data: {
focus: false,
inputValue: '',
placeholderStyle: {color:'#F76260'}
},
onLoad() {
// 兼容
console.log(this.renderer)
if (this.renderer == 'skyline') {
this.setData({
placeholderStyle: {color:'#F76260'}
})
} else {
this.setData({
placeholderStyle: "color:#F76260"
})
}
},
bindKeyInput: function (e) {
this.setData({
inputValue: e.detail.value
})
},
bindReplaceInput: function (e) {
var value = e.detail.value
var pos = e.detail.cursor
var left
if (pos !== -1) {
// 光标在中间
left = e.detail.value.slice(0, pos)
// 计算光标的位置
pos = left.replace(/11/g, '2').length
}

    // 直接返回对象,可以对输入进行过滤处理,同时可以控制光标的位置
    return {
      value: value.replace(/11/g, '2'),
      cursor: pos
    }

    // 或者直接返回字符串,光标在最后边
    // return value.replace(/11/g,'2'),

},
bindHideKeyboard: function (e) {
if (e.detail.value === '123') {
// 收起键盘
wx.hideKeyboard()
}
}
})
编辑 index 目录下 index.js
{ "componentFramework": "glass-easel" }编辑 index 目录下 index.wxml
<view class="page-body">
<view class="page-section">
<view class="weui-cells**title">可以自动聚焦的 input</view>
<view class="weui-cells weui-cells_after-title">
<view class="weui-cell weui-cell_input">
<input class="weui-input" auto-focus placeholder="将会获取焦点"/>
</view>
</view>
</view>
<view class="page-section">
<view class="weui-cells**title">控制最大输入长度的 input</view>
<view class="weui-cells weui-cells_after-title">
<view class="weui-cell weui-cell_input">
<input class="weui-input" maxlength="10" placeholder="最大输入长度为 10" />
</view>
</view>
</view>
<view class="page-section">
<view class="weui-cells**title">实时获取输入值:{{inputValue}}</view>
<view class="weui-cells weui-cells_after-title">
<view class="weui-cell weui-cell_input">
<input class="weui-input" maxlength="10" bindinput="bindKeyInput" placeholder="输入同步到 view 中"/>
</view>
</view>
</view>
<view class="page-section">
<view class="weui-cells**title">控制输入的 input</view>
<view class="weui-cells weui-cells_after-title">
<view class="weui-cell weui-cell_input">
<input class="weui-input" bindinput="bindReplaceInput" placeholder="连续的两个 1 会变成 2" />
</view>
</view>
</view>
<view class="page-section">
<view class="weui-cells**title">控制键盘的 input</view>
<view class="weui-cells weui-cells_after-title">
<view class="weui-cell weui-cell_input">
<input class="weui-input" bindinput="bindHideKeyboard" placeholder="输入 123 自动收起键盘" />
</view>
</view>
</view>
<view class="page-section">
<view class="weui-cells**title">数字输入的 input</view>
<view class="weui-cells weui-cells_after-title">
<view class="weui-cell weui-cell_input">
<input class="weui-input" type="number" placeholder="这是一个数字输入框" />
</view>
</view>
</view>
<view class="page-section">
<view class="weui-cells**title">密码输入的 input</view>
<view class="weui-cells weui-cells_after-title">
<view class="weui-cell weui-cell_input">
<input class="weui-input" password type="text" placeholder="这是一个密码输入框" />
</view>
</view>
</view>
<view class="page-section">
<view class="weui-cells**title">带小数点的 input</view>
<view class="weui-cells weui-cells_after-title">
<view class="weui-cell weui-cell_input">
<input class="weui-input" type="digit" placeholder="带小数点的数字键盘"/>
</view>
</view>
</view>
<view class="page-section">
<view class="weui-cells**title">身份证输入的 input</view>
<view class="weui-cells weui-cells_after-title">
<view class="weui-cell weui-cell_input">
<input class="weui-input" type="idcard" placeholder="身份证输入键盘" />
</view>
</view>
</view>
<view class="page-section">
<view class="weui-cells**title">控制占位符颜色的 input</view>
<view class="weui-cells weui-cells_after-title">
<view class="weui-cell weui-cell_input">
<input class="weui-input" placeholder-style="{{placeholderStyle}}" placeholder="占位符字体是红色的" />
</view>
</view>
</view>
</view>
.page-body {
margin-top: 80px;
}
.page-section{
margin-bottom: 20rpx;
}
.weui-input {
width: 100%;
height: 44px;
line-height: 44px;
}