使用微信小程序实现登录

使用微信小程序实现登录
微信小程序页面
在微信小程序官网注册账号,下载微信开发工具,微信扫码登录
选择不使用云服务,选择JS基础模板进行创建

在app.json文件下配置login文件

在login.wxml文件下编写代码
(为了方便,这里的样式都写的行内样式,也可以写在login.wxss文件下)
<view style="margin-top: 100px;">
  <button style="background-color: green; color: white;" bindtap="handleLogin">登录</button>
  <view style="text-align: center;">
    <view>name: {{nickName}}</view>
  </view>
</view>
在login.js文件下编写代码(注意修改wx.request的url地址)
// pages/login.js
Page({
  data: {
    userName: '',
  },

handleLogin: function() {
wx.getUserProfile({
desc: '用于完善会员资料',
success: (userInfo) => {
console.log('获取用户信息成功:', userInfo);
const nickName = userInfo.userInfo.nickName;
wx.login({
success: (res) => {
console.log('wx.login 成功:', res);
if (res.code) {
wx.request({
url: 'http://服务器公网地址:3000/api/login',
method: 'POST',
data: {
code: res.code,
nickName: nickName
},
success: (response) => {
console.log('服务器响应:', response);
if (response.data.success) {
console.log('登录成功', response.data);
this.setData({
userName: response.data.userName
});
wx.showToast({
title: '登录成功',
icon: 'success'
});
} else {
console.error('登录失败', response.data.message);
wx.showToast({
title: '登录失败',
icon: 'none'
});
}
},
fail: (error) => {
console.error('请求失败', error);
wx.showToast({
title: '网络错误',
icon: 'none'
});
}
});
} else {
console.error('登录失败', res.errMsg);
wx.showToast({
title: '获取登录凭证失败',
icon: 'none'
});
}
}
});
},
fail: (error) => {
console.error('获取用户信息失败', error);
wx.showToast({
title: '获取用户信息失败',
icon: 'none'
});
}
});
},
})
当后台接口开启后,编译小程序代码,就可以获取用户名
结果如下:

nodejs 写后台接口
首先要确保安装 nodejs,在命令面板输入
node -v
查看 node 版本 (按住 win+R,输入 cmd,进入命令面板) 可以查看到版本号即 nodejs 已成功安装

新建文件 testapi,在这里直接输入 cmd 进入命令面板

输入命令
npm init -y
获得一个初始化
package.json
文件

接下来就可以用 vscode 打开 testapi 文件夹了

现在开始正式编写后台代码
- 首先安装依赖项 express、mysql、cors、axios(可以同时安装,也可以一个一个安装)

- 修改
package.json文件

- 新建 app.js 文件,书写代码
const express = require('express');

const app = express();
const port = 3000;
const cors= require('cors')
app.use(cors())

// 中间件,用于解析 JSON 请求体
app.use(express.json());

// 写一个小请求试验一下
app.get('/',( req, res )=>{
res.send('hello world')
})

// 启动服务器
app.listen(port, () => {
console.log(`服务器运行在 http://localhost:${port}`);
});- 启动服务,可以直接在终端输入命令
node app.js,也可以安装 nodemon 使用命令npx nodemon


此时后台已成功开启
在浏览器访问链接地址 http://localhost:3000,得到 hello world 说明这个接口是成功的

接下来连接数据库
- 新建 db.js 文件,书写代码(注意修改服务器公网地址)
const mysql = require("mysql");

let connection;
function handleDisconnect() {
connection = mysql.createConnection({
host: '服务器公网地址',
user: 'testdata',
password: '123456',
database: 'testdata'
});
connection.connect(err => {
if (err) {
console.error('数据库连接错误', err);
setTimeout(handleDisconnect, 2000);
} else {
console.log('数据库连接成功');
}
});
connection.on('error', (err) => {
console.error('数据库错误', err);
if (err.code === 'PROTOCOL_CONNECTION_LOST') {
handleDisconnect();
} else {
throw err;
}
});
}

handleDisconnect();
module.exports = connection;
然后写登录功能(为了使代码清晰,功能代码单独写一个文件)
- 新建 login.js 文件(注意修改 微信小程序的 appId 和 appSecret )
const express = require('express');
const router = express.Router();
const axios = require('axios');

// 微信小程序登录接口
router.post('/login', async (req, res) => {
try {
// 检查数据库连接
if (!req.db || req.db.state === 'disconnected') {
throw new Error('数据库连接已断开');
}

    const { code, nickName } = req.body;

    if (!code) {
      throw new Error('缺少必要的 code 参数');
    }

    // 微信小程序的 appId 和 appSecret
    const appId = '开发者的appID';
    const appSecret = '微信小程序平台依据appID生成的appSecret';

    // 使用 code 向微信服务器换取 openid 和 session_key
    const result = await axios.get(`https://api.weixin.qq.com/sns/jscode2session`, {
      params: {
        appid: appId,
        secret: appSecret,
        js_code: code,
        grant_type: 'authorization_code'
      }
    });
    console.log('微信服务器返回结果:', result.data);

    const { openid, errcode, errmsg } = result.data;

    if (errcode) {
      throw new Error(`微信服务器返回错误:${errcode} ${errmsg}`);
    }

    if (!openid) {
      throw new Error(`未能获取有效的 openid。微信服务器响应:${JSON.stringify(result.data)}`);
    }

    // 在数据库中查找或创建用户
    req.db.query('SELECT * FROM user WHERE openid = ?', [openid], (error, results) => {
      if (error) {
        console.error('数据库查询错误:', error);
        return res.status(500).json({ success: false, message: '服务器错误' });
      }
      console.log('数据库查询结果:', results);

      let userName;
      if (results.length === 0) {
        // 用户不存在,创建新用户
        userName = nickName;
        req.db.query('INSERT INTO user (openid, userName) VALUES (?, ?)', [openid, userName], (error) => {
          if (error) {
            console.error('创建新用户错误:', error);
            return res.status(500).json({ success: false, message: '创建用户失败' });
          }
          sendResponse(userName);
        });
      } else {
        // 用户已存在,获取用户名
        userName = results[0].userName;
        sendResponse(userName);
      }

      function sendResponse(userName) {
        res.json({ success: true, message: '登录成功', userName });
      }
    });

} catch (error) {
console.error('微信登录出错:', error);
res.status(500).json({ success: false, message: '登录失败', error: error.message });
}
});

module.exports = router;
这时 app.js 文件需要进行一些修改
const express = require('express');

const db = require('./db');
const loginRouter = require('./login');

const app = express();
const port = 3000;
const cors= require('cors')
app.use(cors())

// 中间件,用于解析 JSON 请求体
app.use(express.json());

// 将数据库连接添加到请求对象中
app.use((req, res, next) => {
req.db = db;
next();
});

// 使用登录路由
app.use('/api', loginRouter);

// 写一个小请求试验一下
app.get('/',( req, res )=>{
res.send('hello world')
})

// 启动服务器
app.listen(port, () => {
console.log(`服务器运行在 http://localhost:${port}`);
});
执行 npx nodemon 命令,成功运行

配置云服务器
(这里我选择的是阿里云的云服务器 ECS)

购买后或选择试用后,点击管理控制台

进入控制台,首先进行远程连接

需要使用账号密码登录一下,默认的有账号密码,可以选择点击重置密码进行重置 (这里建议重置一个容易记住的密码)
在这里执行命令,安装宝塔面板

yum install -y wget && wget -O install.sh https://download.bt.cn/install/install_6.0.sh && sh install.sh ed8484bec执行后会有一个宝塔网址,复制外网面板网址打开,输入提供的账号和密码,即可启动宝塔面板。


开放 8888 端口号或自定义端口号(8888 为默认端口号,在这里我已更改为 8889)
其中要注意在云服务器的安全组开放 8888(默认端口号)或者自定义的端口号(这里开放的是 8889 端口号) (同时也要为数据库开放 3306 端口)


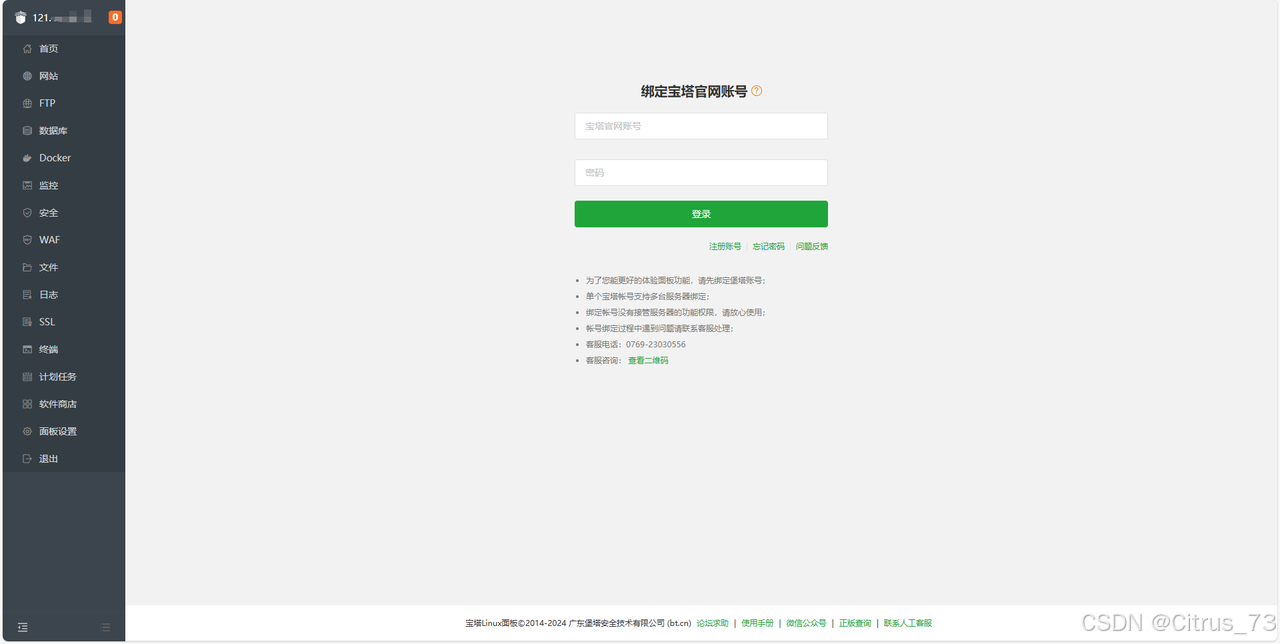
进入宝塔面板后,进行面板设置,更改登录密码,还可以绑定已有的宝塔账号。


在安全下,添加端口规则,开放 8889 和 3306 端口

在刚刚进入宝塔面板时,会有一键安装一些服务的提示,可以直接点击安装,也可以在需要的时候进行安装
在网站栏目安装 Nginx,在数据库栏目安装 MySQL

安装数据库 MySQL,安装成功后就会自动开启
将后台接口代码传到服务器,启动起来即可
数据库连接服务器
(这里的数据库以 MySQL 为例)
在这里点击添加数据库

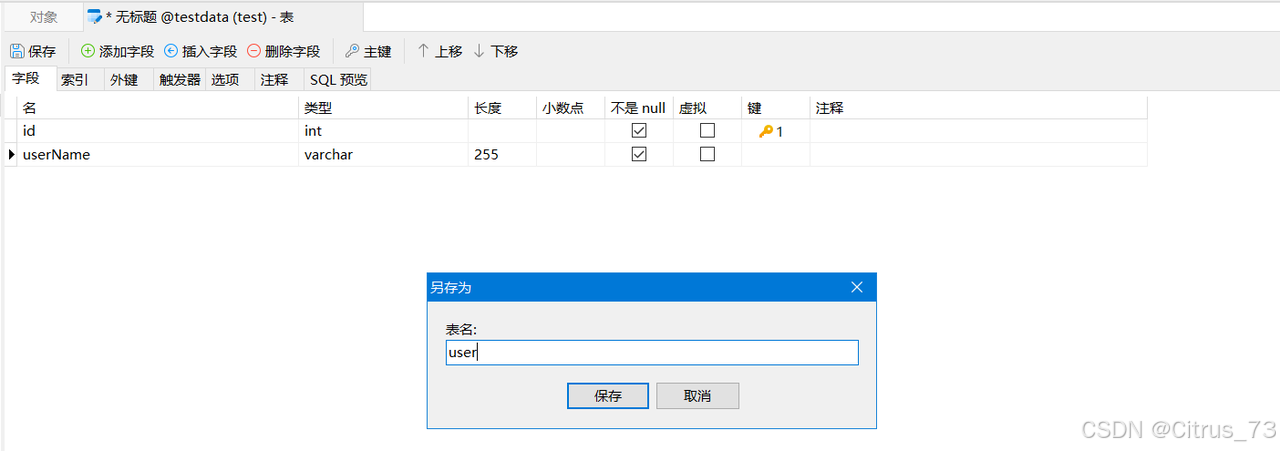
添加一个 test 数据库,点击确定 (这里的 test 显示数据库名和用户名不合法,后改为 testdata)

接下来在本地 Navicat 连接服务器数据库 (这里选用 Navicat 作为数据库可视化工具)
- 新建一个 MySQL 连接

- 填写完后,点击确定,这样这个连接就建好了

- 双击后打开,里面有一个 testdata 数据库

- 然后就可以进行其他操作了

综上,就可以简单实现微信小程序的登录功能了。