Windows版本Nginx部署前端项目并且解决跨域请求后端接口教程

目录
Windows版本Nginx部署前端项目并且解决跨域请求后端接口教程
1、官网下载Nginx:
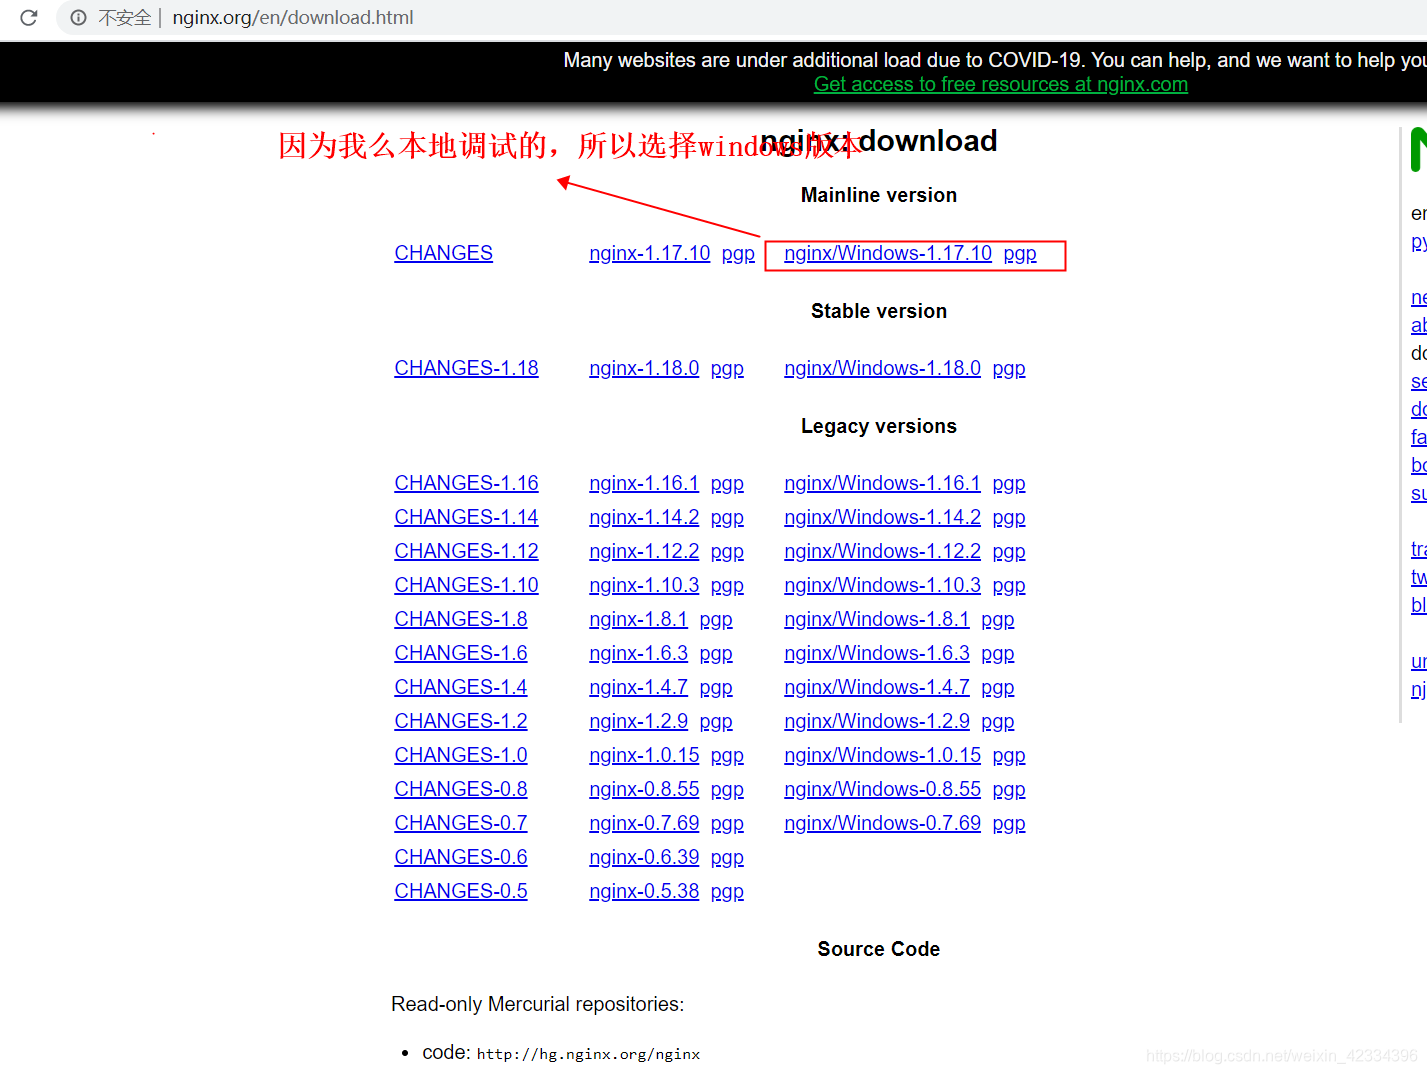
2、下载好之后,解压后打开nginx.conf文件,在
nginx-1.17.10\conf
文件夹下哦:
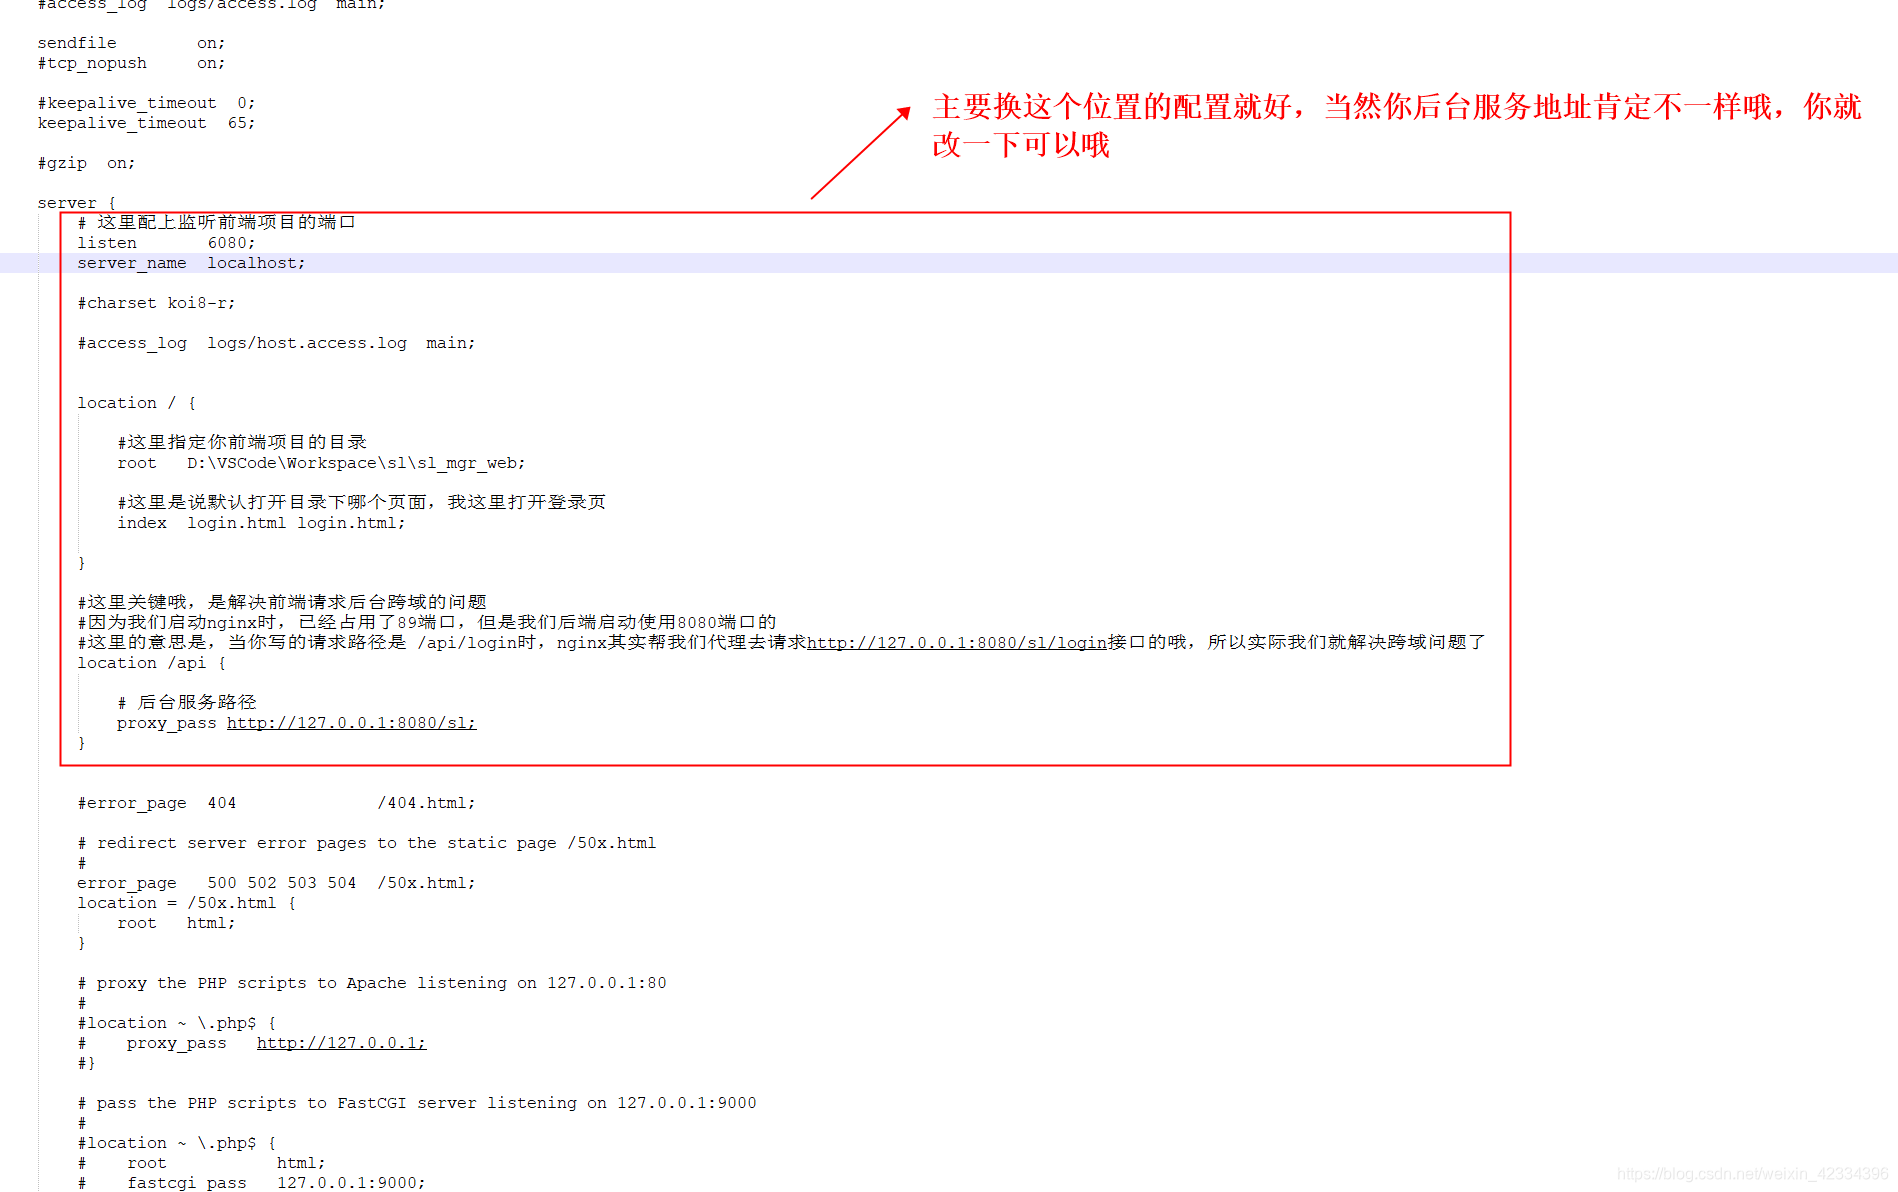
# 这里配上监听前端项目的端口
        listen       6080;
        server_name  localhost;

        #charset koi8-r;

        #access_log  logs/host.access.log  main;


        location / {

			#这里指定你前端项目的目录
            root   D:\VSCode\Workspace\sl\sl_mgr_web;

			#这里是说默认打开目录下哪个页面,我这里打开登录页
            index  login.html login.html;

        }

		#这里关键哦,是解决前端请求后台跨域的问题
		#因为我们启动nginx时,已经占用了89端口,但是我们后端启动使用8080端口的
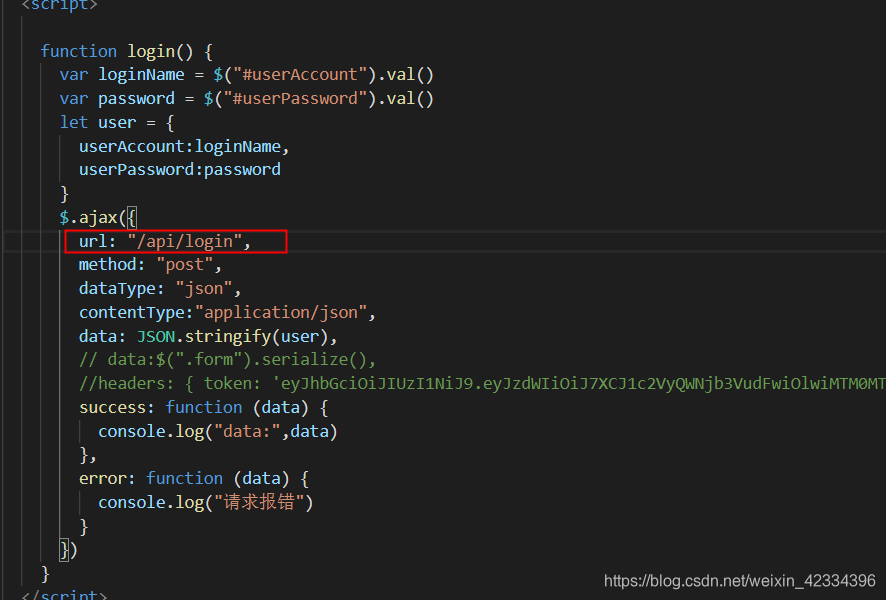
		#这里的意思是,当你写的请求路径是 /api/login时,nginx其实帮我们代理去请求http://127.0.0.1:8080/sl/login接口的哦,所以实际我们就解决跨域问题了
		location /api {

			# 后台服务路径(注意一下区别哦)
			# 这是后端启动带项目名的配置
			proxy_pass http://127.0.0.1:8080/sl;
			# 这是后端启动不带项目名的路径配置
			#proxy_pass http://127.0.0.1:8080/sl/;
		}
3、配置好后,我们可以去nginx目录下cmd窗口输入
start nginx
启动look look了(文末附上几个基本命令哦):


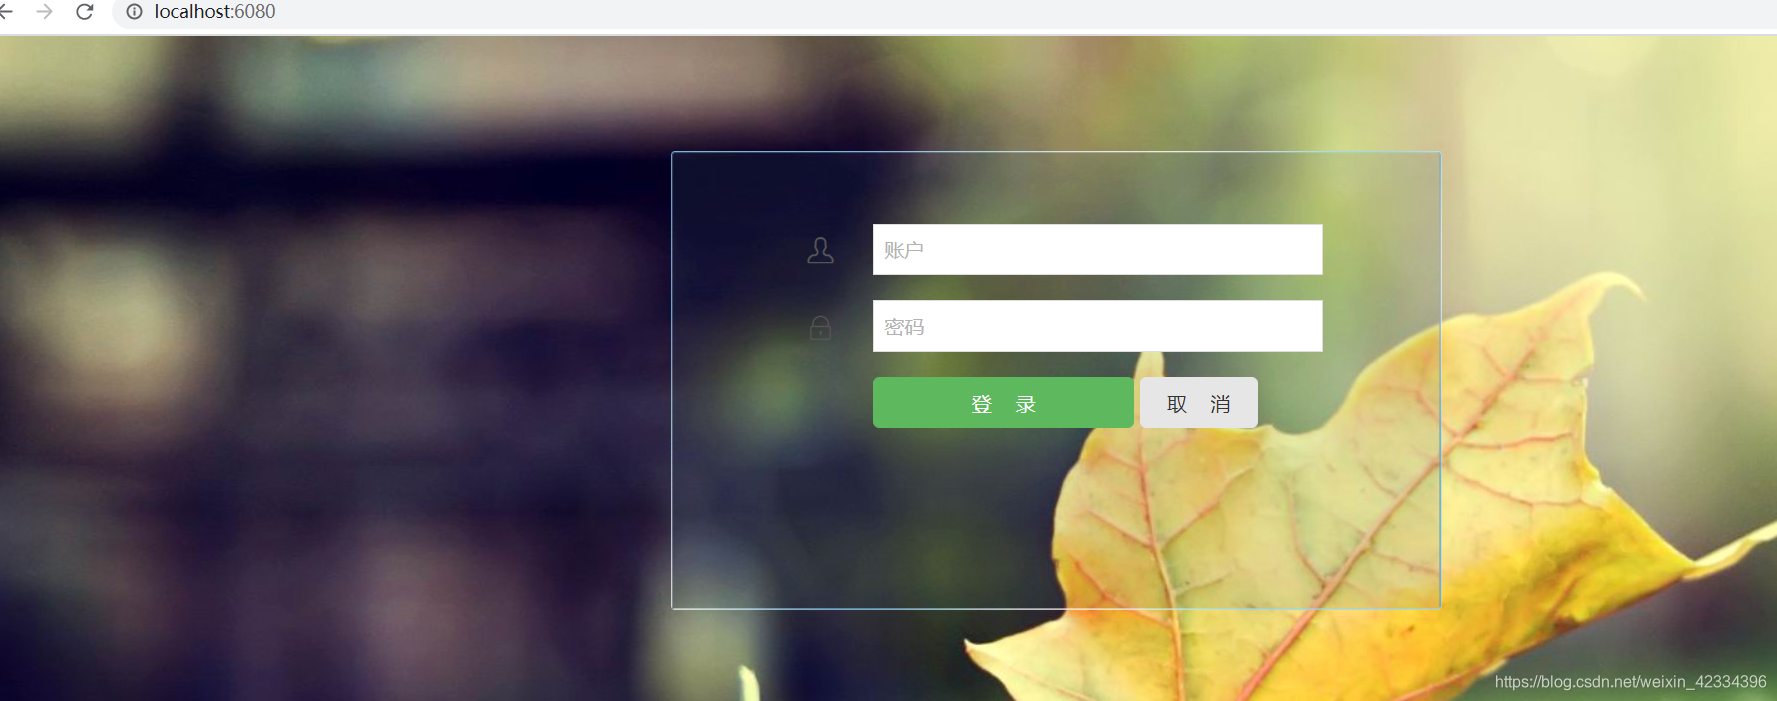
4、浏览器输入
localhost:6080
,看到登录页了:
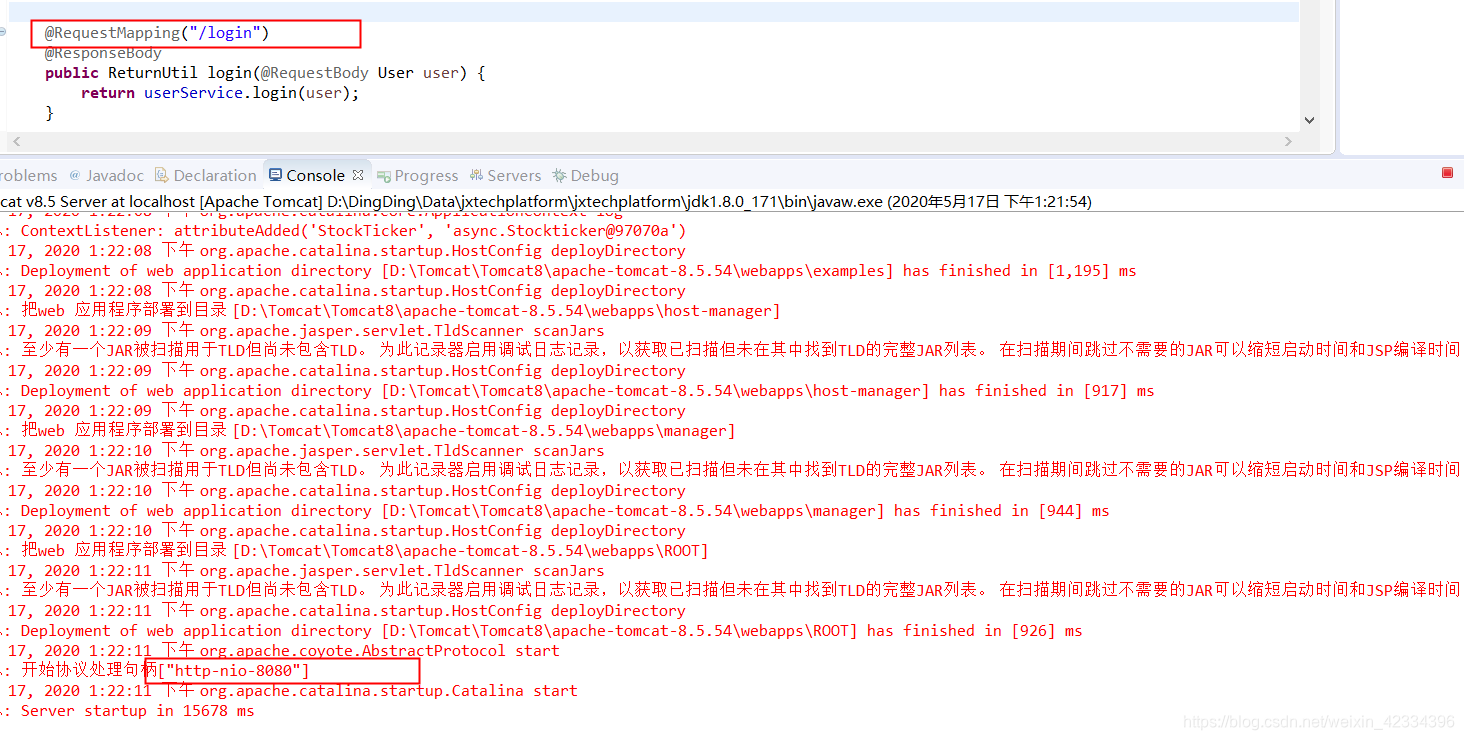
5、我尝试点击登录请求后台接口:

Nginx基本命令
start nginx				//启动nginx命令
nginx -s reload			//如果已经启动nginx了,更改conf文件内容,就需要执行这个命令让配置文件更改内容生效
nginx -s quit			//退出nginx
最后我觉得你跟着我这篇文章去操作操作,感觉问题不大哦,如果觉得work的话,点个赞哦!